Alien building in general:
Alien structures have several advantages over human buildings. They start regenerating out of themselves 2 seconds after they were last dealt damage. Some of them may also be built on walls or ceilings to avoid detection and grenades.
They however also have disadvantages. Humans have long range weapons which can quickly destroy any alien structure that has a long line of sight leading to it with little threat to the attacking human. Structures on the floor are also very prone to the mighty grenade. Their defences are truly more short range support than a true defence and even more so than humans they need to be backed up by players.
Out of this follow several rules for building as a granger.
1: Never build structures in locations with long lines of sight.
Reason: Humans have long range weapons.
2: If possible build on walls and ceilings.
Reason: The grenade is very powerful and is for example able to take out a group of clustered Acid tubes in one blow.
Aliens unlike humans have 3 spots they might build in a map. The following is a guideline
1: Main base containing Overmind, an egg or two (do not group them together) and defences.
2: Forward base containing an egg and a booster.
3: Backup eggs spread around the map in inconspicuous locations to prevent quick annihilations.
(4): On occasion aliens might build a forward defence to keep any jetpackers from leaving their base or gaining aerial advantage. This should only be done if the aliens have the humans pinned down though.
Name: Overmind Sentience: 0
HP: 750 Regen: 6/second
Range: Very Short Aim: Front
Use: The Overmind, often shortened to OM, allows aliens to evolve
if they have the necessary evolve points and is needed for all
structures except eggs to function. If no Overmind is present
no new structures may be built.
Loc: Although the Overmind does have a defence it is weak and
mostly useless. For this reason concealment and hard to reach
factor are important when placing the Overmind. Never build it
where the humans can shoot at it from afar. It can only be
built on the floor.
Name: Egg Sentience: 10
HP: 250 Regen: 8/second
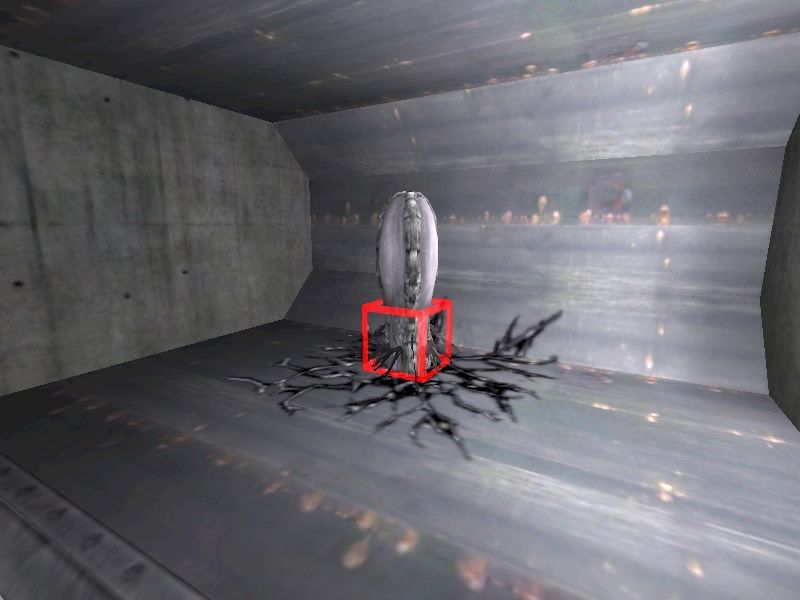
Use: Eggs are the spawn locations for the alien team. They also
provide the creep necessary to build other alien structures in
forward locations. Removing an egg quickly kills all structures
that do not have access to the creep of another egg. Their
hitbox is also quite small in comparison to their model, might
want to keep this in mind when destroying them as humans.
Loc: Once again hidden and hard to reach. Eggs sometimes need to
placed openly when they are acting as creep suppliers for
forward structures like a booster. Be careful not to put them
above death spots like an abyss because people will spawn
and immediately die. Try to keep at least 2 backup eggs away
from your base so that a single blow will not finish the alien
team off. They can be placed on ceilings, sloped walls and
floors.
EGG HITBOX
Name: Booster Sentience: 12
HP: 150 Regen: 8/second
Range: Medium Aim: Spherical
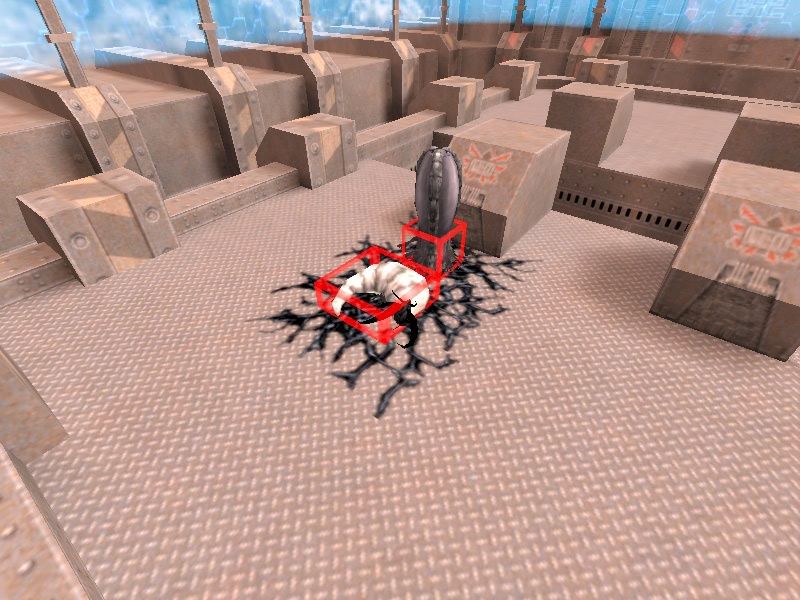
Use: Boosters serve two functions. They double the regeneration
rate of all aliens except tyrants and they provide poison for 30
seconds. Poison slowly wears out unprotected humans and is
especially useful for the lower classes like dretch and basilisk
while enhancing the maurader and dragoon. Tyrants have no
business near it since poison is obsolete for their power and
they do not profit from it’s regeneration aura. It does not have
defensive value, it is a support structure and it’s range and
aim refer to the regeneration aura.
Loc: Usually built near the front along with a egg to provide for
quick return to the battlefield and easy access to poison. When
it is built in base it is useless since the aliens need to travel too
long negating the advantage it gives. It can only be built on
the floor.
EXAMPLE OF A FORWARD BASE ON ATCS (note that spawning aliens land on the booster and automatically get poison.)
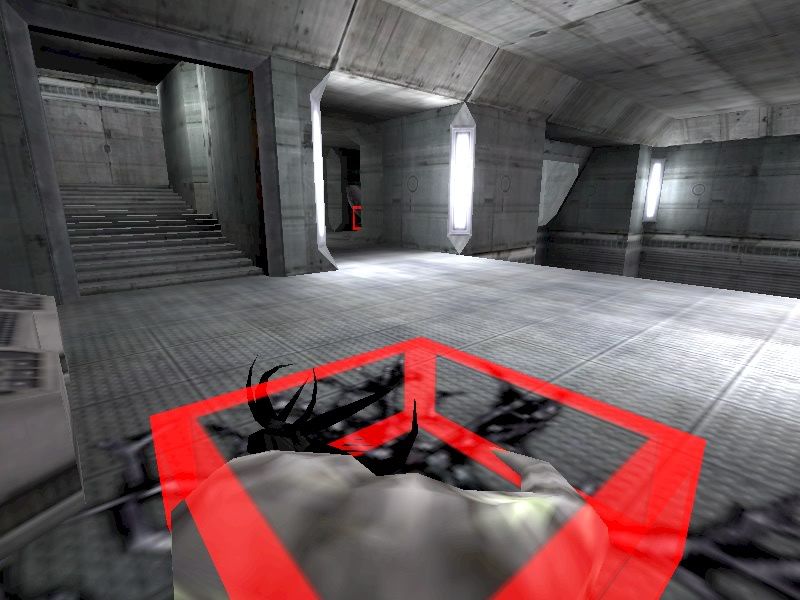
EXAMPLE OF A FORWARD BASE ON NIVEUS (note that the creepgiving egg is somewhat hidden here)
Name: Barricade Sentience: 10
HP: 200 Regen: 14/second
Use: Meant to block the path of humans they have several
disadvantages like their high cost. Besides doing what they
should do, blocking humans, they also block aliens. This in
combination with humans having long range weaponry means
this structure becomes just about useless in most cases. There
may be situations where they are useful but those who will find
these will be experienced builders themselves and don’t need
to read this guide.
Loc: If they need to be used they are most effective at delaying
humans so that the other defensive structures have longer to
do their job. For this job they may not be killed from afar and
should be placed a bit behind doors or just around corners.
They should only be built on the floor since else they truly use
all function.
Name: Hovel Sentience: 0
HP: 375 Regen: 20/second
Use: The Hovel can hide grangers but in reality this ability is
useless. It’s more common use is as a ‘free’ barricade. This
because of it’s high regeneration rate and quite broad hitbox.
Loc: In front of the Overmind or blocking an entry path. Since their
hitbox is not as high as that of a barricade humans can jump
over it, losing stamina in the progress or waisting ammo on it.
Only one can be built and it can only be built on the floor.
HOVEL USED AS A BARRICADE

Name: Acid Tube Sentience: 8
HP: 125 Regen: 10/second
Range: Medium Aim: Spherical
Use: Most commonly used defensive structure for the aliens. Its aim
is based on line of sight but it can fire through and over other
tubes without damaging them. Closer proximity does equal more damage in the same timespan but remember that humans usually use their long range weapons and grenades.
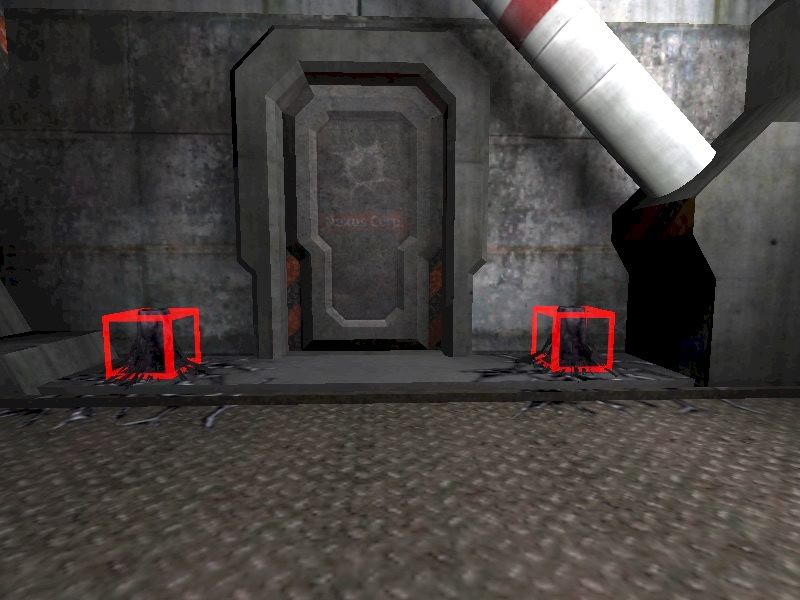
Loc: During stage 1 they are most effective just of the side of exits
and around corners. Stage 2 and on they should always be
placed on walls or low ceilings. Grenades deal quick death to
tubes on the ground and anything else in close range. Don’t
put them in the open either since the long range human
weapons will make mince meat out of them. They can be
placed on ceilings, walls and floors.
STAGE 1 TUBE EXAMPLE
Name: Trapper Sentience: 8
HP: 50 Regen: 6/second
Range: Medium Aim: Conical
Use: Underestimated defensive structure because people don’t
know how to use it, (and a big reason for writing this guide).
Trappers do not deal damage, instead they catch humans in
place for a short duration not allowing them to even turn
unless they are wearing a battlesuit. This allows other
defences to soften the humans up or aliens to ambush this
easy target.
Loc: Since its aim is conical and fixed this is the one defensive
structure where placing demands precision, try to imagine
it not even having conical aiming but linear.
By preference it should be hidden from sight but still close to
the ground since the projectiles take a while to travel. Do not
place them on the floor, they may work once but get killed
quickly. They can be placed on ceilings, walls and floors.
TRAPPER STAGE 2 TUBE COMBINATION
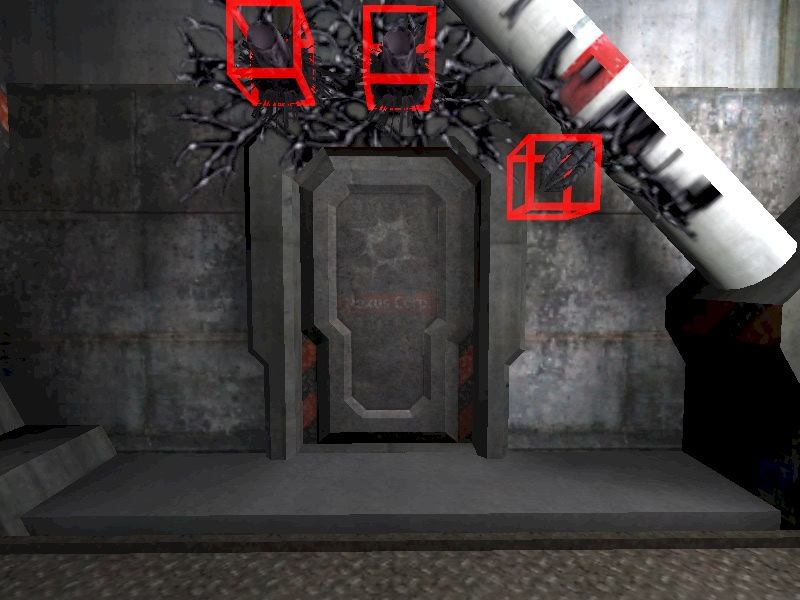
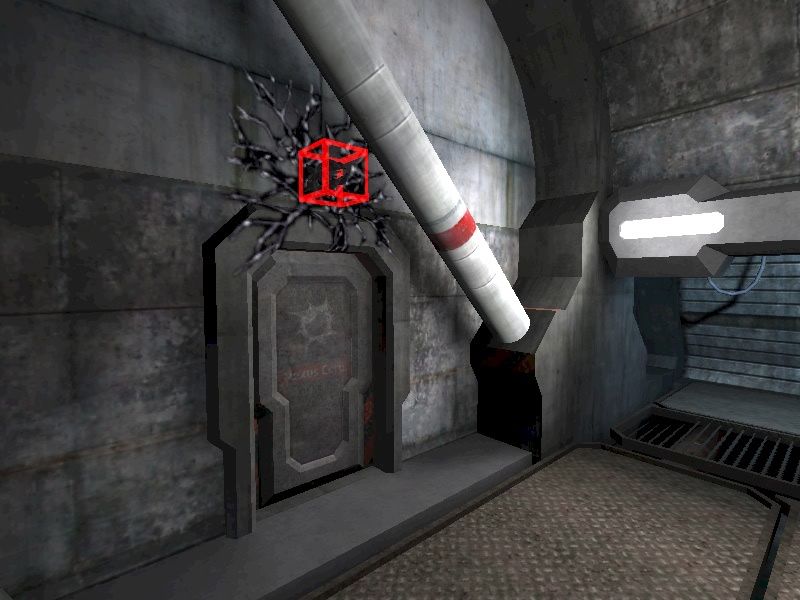
THE FOLLOWING TRAPPER DOES NOT WORK PEOPLE
Name: Hive Sentience: 12
HP: 125 Regen: 10/second
Range: Long Aim: Specific
Use: The hive is often neglected in favour of the cheaper Acid tubes
but they have several advantages that on occasion justify their
higher cost. They may fire slower than Acid tubes but their
range is longer and their swarms will even follow humans
around corners. They are also effective in preventing the
annoying jetpackers from gaining any height.
Loc: Always on the wall or ceiling. They need a line of sight to fire
but once triggered their swarm will follow the human around
corners for quite a while.
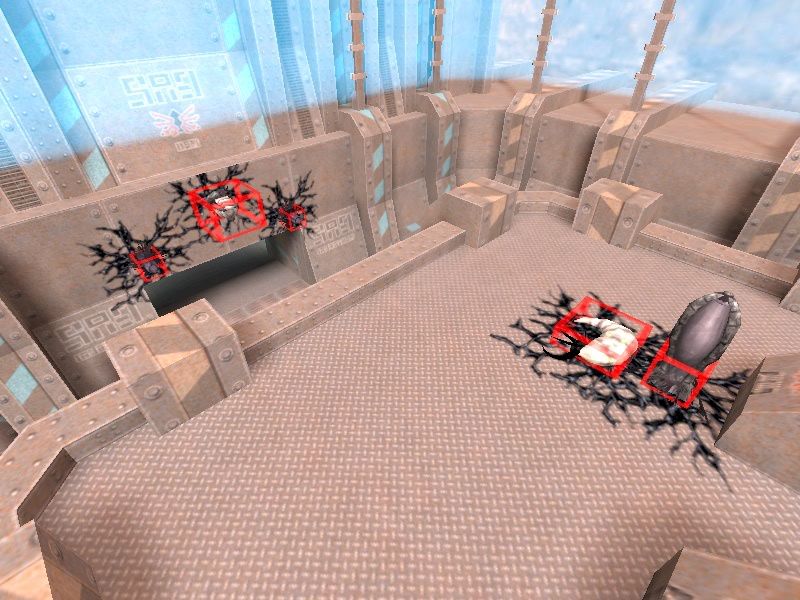
EXAMPLE OF A FORWARD DEFENCE AND JETPACK DENIAL CONSTRUCTION
If anyone wants to host the images on something not bandwidth limited like photobucket please let me know. Also point out inconsistencies please.
